After
consulting
with a few
arborists, we were told to:
1) only move the tree during winter dormancy
2) preserve as wide a diameter of the root ball as possible
3) make clean cuts of the roots
4) Water regularly after moving the tree to compensate for root
injury
5) Let the tree decide which limbs to kill off in spring, and
prune
those after it is clear which ones the tree intends to lose
|
|
|
|
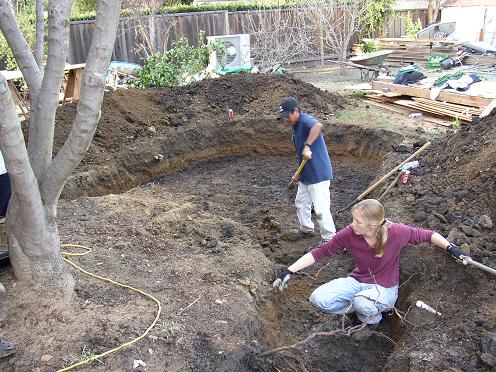
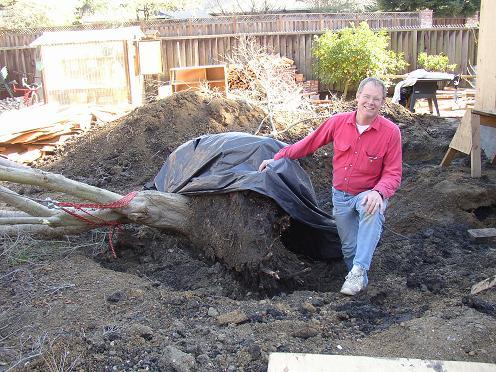
The theory we started with was that
we could dig a perimeter
trench around the tree, then dig a slot in the direction where we
wanted to move the tree, part the dirt under the tree with a cable, and
drag the tree to its new location. Here is Pam and a worker with
the tree to be moved, standing in the freshly dug slot.
|
|
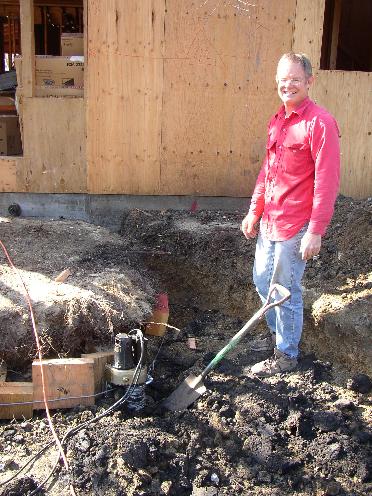
The next idea was to part the
rootball from the ground
below. This seemed to be a good method at the time, as the adobe
clay is like modeling clay when wet The scheme half worked - the
cable attached to the rented winch cut through the 12' diameter clay
below the root ball, like a wire through cheese, until it hung up on a
rock or root deep below, and became permanently embedded in the
muck. I cut the cable to free the (rental) winch, and installed a
new hook and we pressed on..
|
|
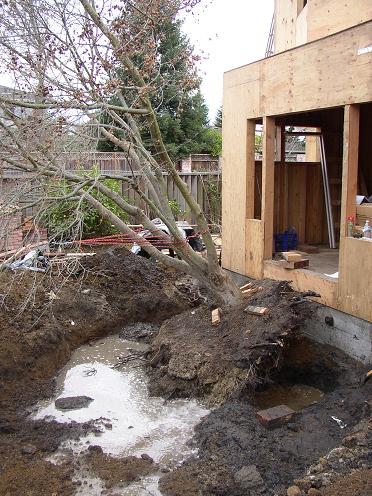
Once the root ball was (mostly)
parted from the ground, a
winch to the upper branches finished the parting. In a grand bit
of wishful thinking, we had soaked the ground around the tree in the
hopes that this would make it easier to drag the root ball. This
mostly created
a water obstacle to jump through or over. The 750lb
pull-rated
rental winch didn't have enough power to move the tree, so it was time
to return it to the rental yard. The first lesson - get your own
winch instead of a $50 per day rental,
since you're going to be spending quite a bit of time either freeing
yourself from the last scheme, or coming up with the next one ;-) |
|
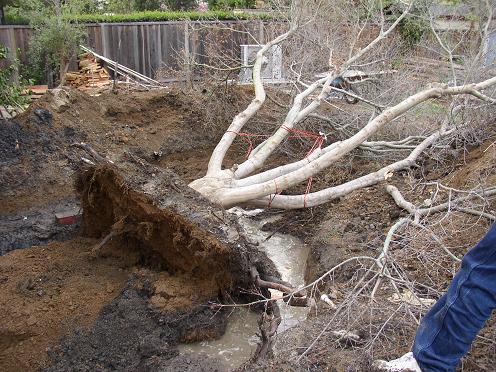
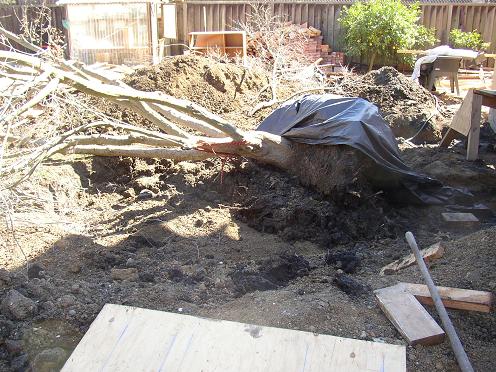
Here is a view of the back of the
root ball separated from
the dirt below.
|
|
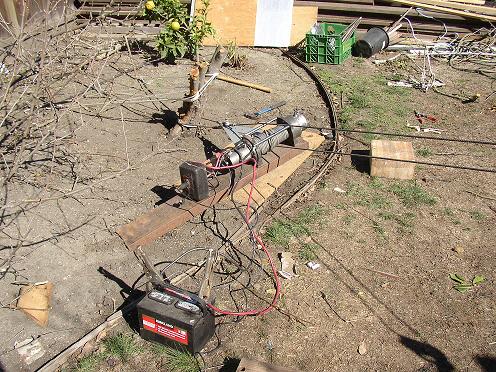
The new winch setup. This is
a 12V Warn M6000 with a
snatch block (doubler pulley) to generate 12,000 lbs of pulling
force. We bought this one used for $150 on Craigslist, and they
are usually bolted to a bracket on 4WD vehicles, and sold as
self-rescue winches. We bolted this one to an angle iron with
brackets leading to a clovis pin for attachment at the rear. The
tree is to the right, and the winch is connected to
the base of the small tree trunk, which is in turn tied to a series of
stakes (see below). Note that the pulling capacity of a winch is
rated using the innermost layer of the capstan, so the winch
was periodically unwound and rewound to wrap the cable on the smallest
diameter
layer for maximum pulling strength.
|
|
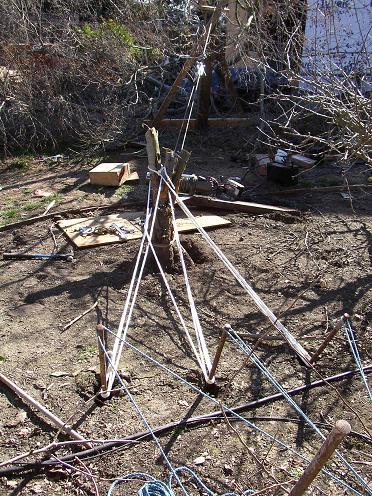
The winch is at the top, with the
anchoring tree stump in the
middle, attached to the base of 3 stakes (white ropes), the tops of
which are tied to the bases of 3 stakes below (blue ropes). There
was a 6" deflection of the tree anchor point during the pull, but
everything stayed together during the move, amazing considering the
12,000 lb winch stalled several times, indicating it was at maximum
pulling force (DC motors generate maximum torque at 0 RPM).
|
|
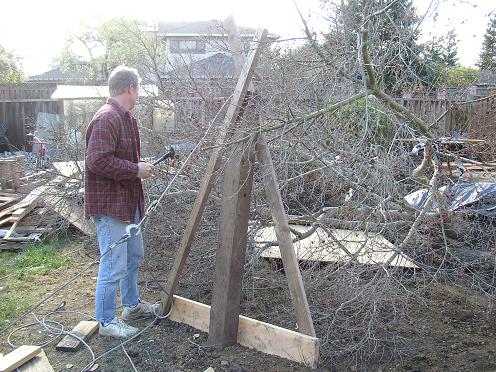
This post was stabilized with an
A-frame and centered below
the line of action of the cable thereby creating an upward pulling
component on the tree.
|

|
View of the
top of the post with the cable cutting through. A crosswise 4x6
was placed on top so we wouldn't split the post.
|
|
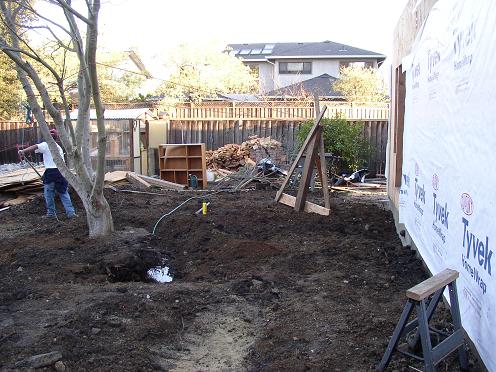
The tree is
being dragged
through the slot using the 12K lb winch setup above. The rate of
movement was about 6-12" per minute
|
|
12 feet of
dragging later,
the tree is in its final resting place (so to speak).
|
|
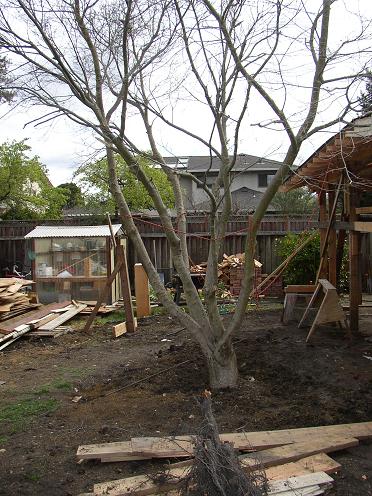
Then pulled
(mostly) upright
|
|
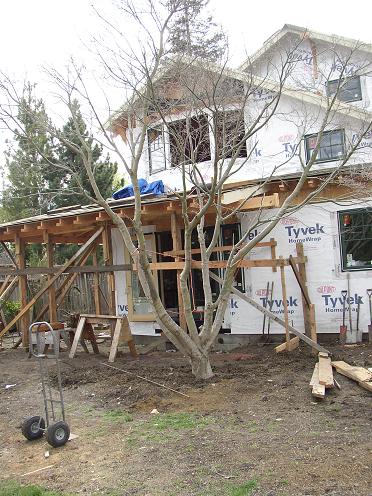
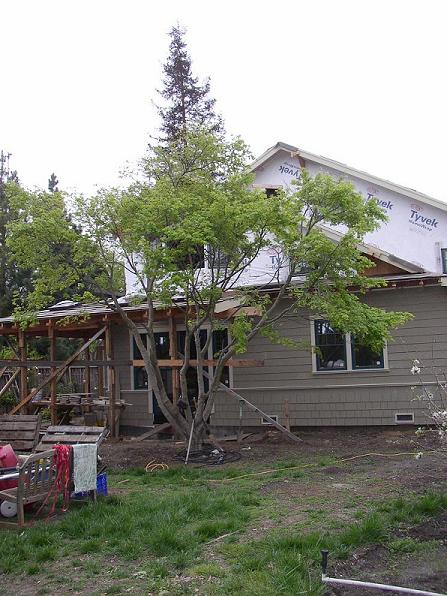
The final
resting place (with
rear deck roof framed). If the tree dies, it's actual final
resting place will be with the woodworkers who wanted it in the first
place, after we amortize our effort over 2 years of Christmas
decorations.
|
|
And viewed
from the
rear. For reference, the tree had been located directly in front
of the
rear door, where the deck roof and scaffolding are now.
|
|
A few months later in mid-April - it survived!
|
|
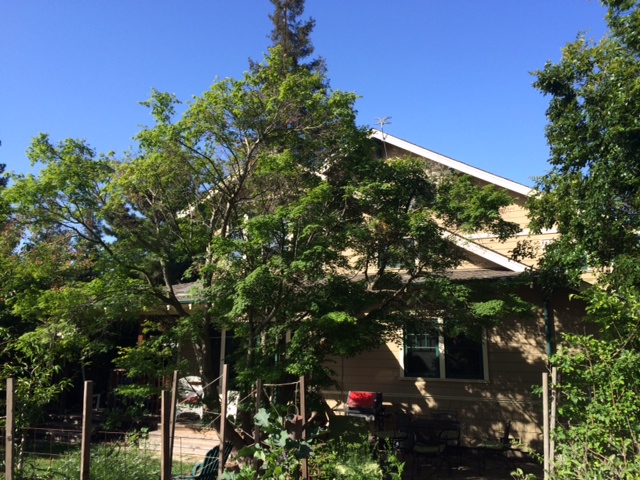
And here is the Japanese Maple 9
years later in 2015 (in the foreground above the beanpole posts, the
pointy darker tree in the background and extending above the Japanese
Maple is a redwood from the other side of the house). Curiously,
some previously shaded areas of the Japanese Maple bark appeared to
have gotten "sunburned" over the years in areas where the formerly
shaded trunk regions now get sun after the tree rotated ~45 degrees
from the move. But overall, the tree is doing well, and the move
was a success. This is mostly a testament to the good advice we
wannabe tree-movers received!
|